I realised that I never posted the details on how the cabinets go together, so this weekend I took some pictures (19 20 thousand words’ worth).
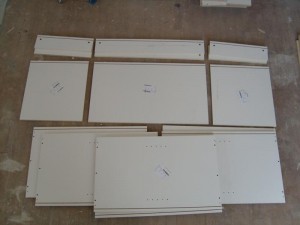
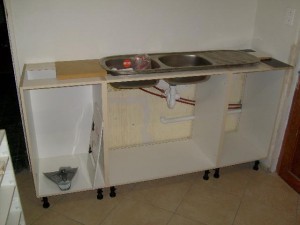
These are the three units which go under the sink (see the floor plan).
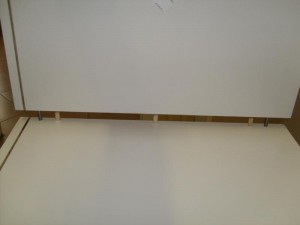
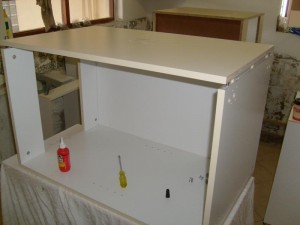
From the top : the two runners which form the top, the bottom, and two sides per unit.
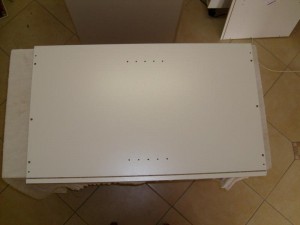
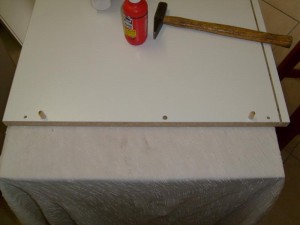
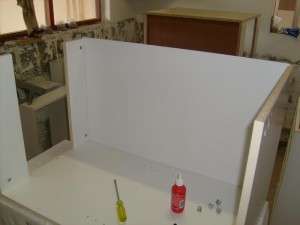
This is the one side. They drilled the centre hole on the left hand side off-center, so I chose that side to be the top (no other choice, really).
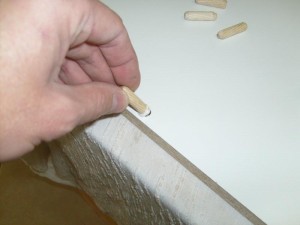
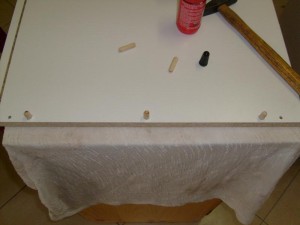
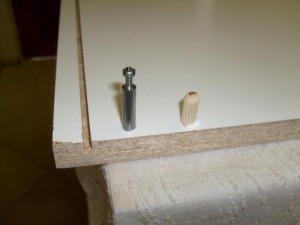
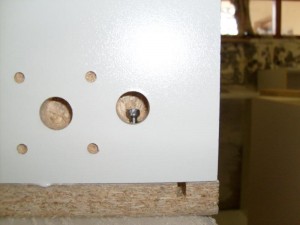
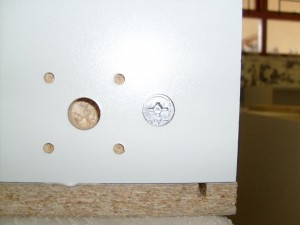
Insert the dowels, three for the bottom end
and two for the top.
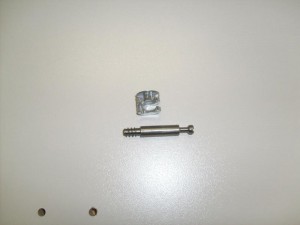
This is the pin and cam that is used to pull the unit together.
Glue, install.
Pin poking through, cam installed, and cam tightened.
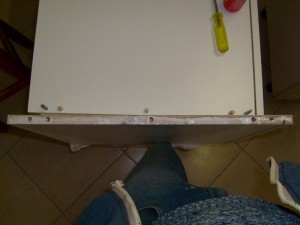
Basically the same thing at the top. I learned the hard way that here it’s important to align things, because the single dowel allows for rotation, and then the top edges come out uneven. So hold the corner square while tightening the cam.
Don’t forget the backing board.
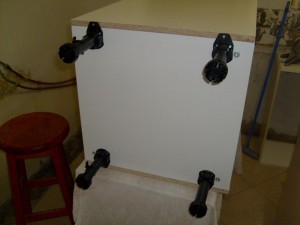
Fit the other side, and the feet.
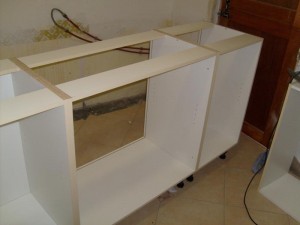
I repeated this exercise three times, laid the three units on their backs on the floor, clamped and aligned the front edges, and screwed the whole thing together, just like Tom Silva shows on this This Old House video.
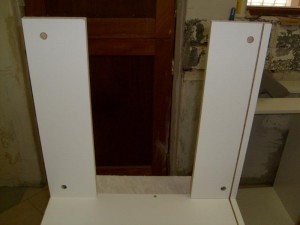
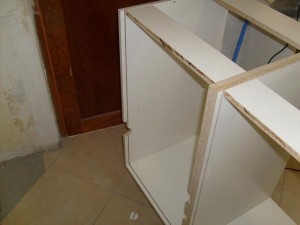
Because of the water and waste pipes, I didn’t fit the backs to the two right-hand units. Which means I had to cut the back bit off the top strips so that I can slide the back in later.
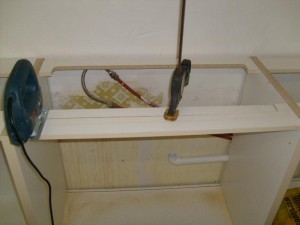
Cutting the hole for the sink. Tip : clamp the bit you’re cutting out so that it doesn’t break and splinter the last bit.
Tanya will have to wear heels to wash dishes — the counter height is 1m.

1 Response
[…] four units were not supplied at all. I then managed to get them to fix the two units, and supply three of the four outstanding […]