No great strides, but I made a little progress here and there.
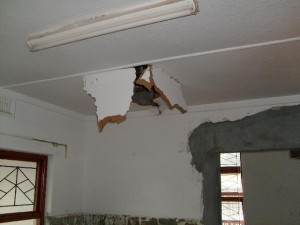
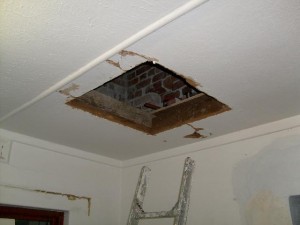
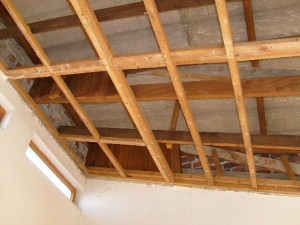
After looks better than before, no? I’ve been meaning to relocate the existing hatch in the hallway, since I want to build a cupboard which would limit access to it. Wasn’t planning on having it in the kitchen, but then Frank slipped up (or down, in this case) and I decided to make the best of the situation. I added a crossmember and a few battons, and took a UPS pallet apart for the plywood which I used to build a platform I can sit on while getting into / out of the roof.
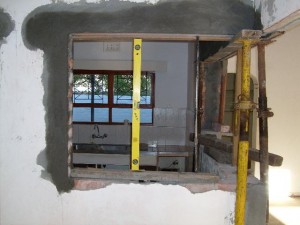
A bit of cretestone and paint and it’ll look OK (and the small hole on the wall side will be above a built-in cupboard, so no worries there.
OK, that’s the one step forward.
I originally thought to hang the new geyser on the outside wall, and started cutting the pipes leading to the old geyser in preparation. Then I bought a 200 liter geyser, and then I realised that 200 liter geysers can’t be wall-hung. And the pipes are of the old style, where the 22mm type is slightly smaller than the new stuff, which means that the solder fittings don’t. Fit, that is. So my attempts at rejoining the pipe were futile.
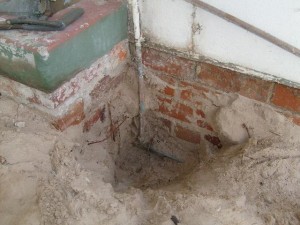
So I gave up, told Frank to knock another hole in the wall for the water to the geyser.
Now I need a hand full of 22mm 90 degree solder type bends to complete the work. I used two 45 degree bends on the hot side — nobody seems to have 90 degree 22mm bends (I can get plenty 15mm and even 28mm).
And then the outside plumbing starts. Rough estimate — For now I need six 22mm Ts, 4 reducing Ts, 4 22mm bends, 4 reducing bends, more pipe… this is another thousand rands’ worth of stuff, because I’m using poly pipe, so I need compression fittings. Doing it the other way ’round is worse — the fittings are much cheaper, but the pipe clocks in at something like R35/m for the thin walled (less expensive, but doesn’t bend) stuff. This is for the kids’ side of the house only, I still have to figure out where and how the pipes are going to run on our side.
And we bought paint, sticking to standard colours as advised by the chappie at Builder’s Warehouse. He advised us to use a roof paint (Bristol Acrylic Roof Paint) for the fascias, and on-special Dulux Weatherguard for the walls. Tanya picked cream (“Flamenco”) for the walls and red-ish brown (“Burgundy Red”) for the fascias. Bought two x 20l of the Dulux, will probably need that much again.
