DIY

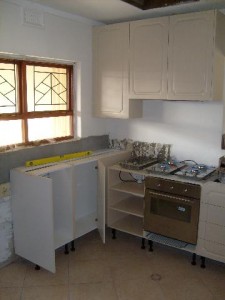
It’s starting to look like a kitchen…

Not only because the cabinets are coming together nicely…

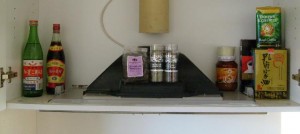
… but also because the cupboards are being filled with all kinds of exotic goodies I’m picking up in anticipation.

I went shopping in the Waterfront the other night, saw that they had juniper berries and star aniseed, and that sort of started it. The star aniseed is for making creme brulee, from the Marie Claire Flavours book. I’ve seen exactly the same recipe online, will find and post a link.

Then came yesterday’s shopping trip. The cover story is that I need a wok. The folks-in-law have a cast iron wok that really works well. I can get something similar from Le Creuset in Cavendish, but it’s rather expensive, as Le Creuset tends to be. So I said that at some stage I’ll go to the Chinese/Japanese/Oriental shops and have a look-see.

The second story comes from a conversation I had with a friend (CH) a few months ago, which went something like this :

<me> I want to make Barbara’s Sichuan Shredded Chicken.
<CH> And you are going to get black vinegar where?

But the real reason I went Chinese shopping yesterday is all Barbara’s fault. In particular, #76, baijiu. I couldn’t believe it’s as horrible as the wiki indicates. To quote, “There are a number of accounts in English which comment unfavorably on the taste of baijiu, comparing it with rubbing alcohol or diesel fuel“.

So I went to Mainland China near Cavendish in Claremont, found 500ml of Er Gou Tou for R18.75 (note : this is less than the cost of a sixpack of beer). I also got the black vinegar, some Tom Yum paste, and an intriguing bottle of “Confucious Family Liquor” which was the most expensive of the lot, R43.80 the bottle (note : R40 is what a relatively decent everyday drinking red sets me back most of the time. Just to put things into context for non-local readers).

So now, I feel that I’m qualified to speak. And I can tell you that baijiu tastes nothing like rubbing alcohol or diesel fuel. No, it’s closer to acetone, although I must admit there’s a slight diesel fuel aroma to it — but on the nose only, not the palate.

After the first few sips (yes, I’m brave) one becomes used to the taste. Maybe because by then, my taste buds had decamped and moved south for the duration. It also has a not-so-nice aftertaste, courtesy no doubt of overly brave taste buds who make the return journey too soon.

I’m sure my Land-Rover will run on it though.

One has to admire the packaging. This is the Confucius Family Liquor, and I have no idea what it is or what it tastes like. Time will tell, I’m sure :-)

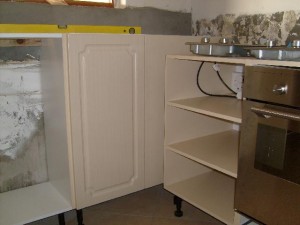
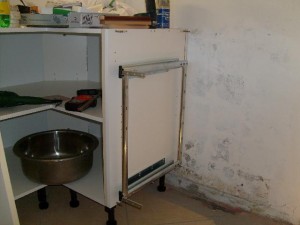
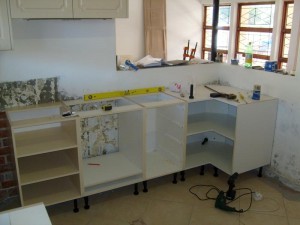
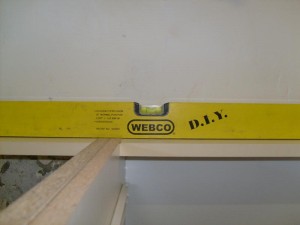
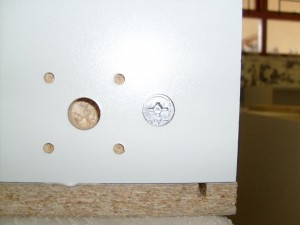
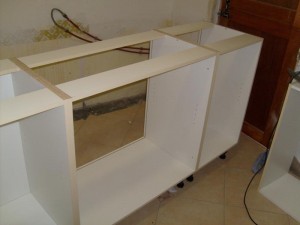
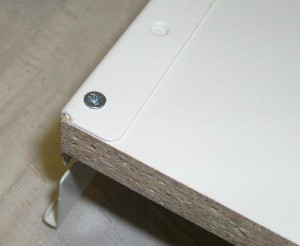
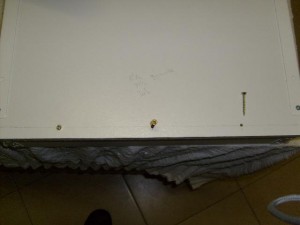
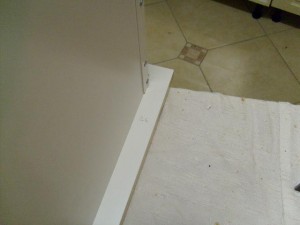
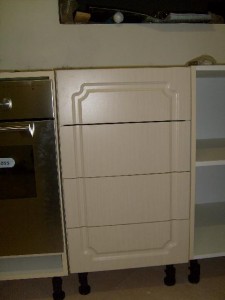
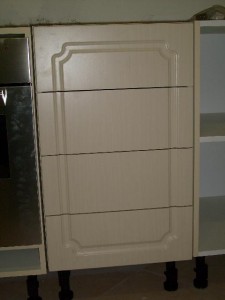
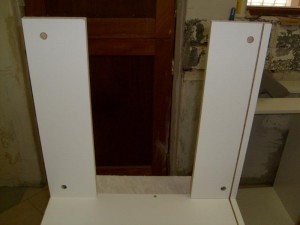
OK, back to the kitchen. As you can see from the very first picture, I eventually got the right size panel to close the front of the cabinet that goes up against the wall in the corner.

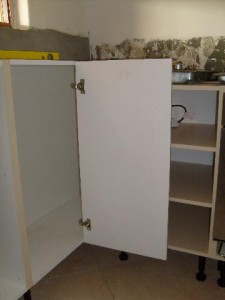
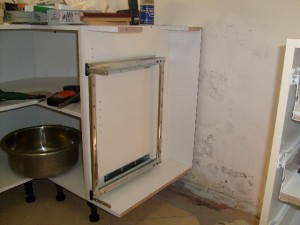
Julian originally designed the unit with a standard (left-opening) door, but I figured that the cupboard would be more accessible if the door opened the other way, so I picked up two “blind corner” hinges and used that to hang the door. The gas bottle is going into the corner, so I need the access.

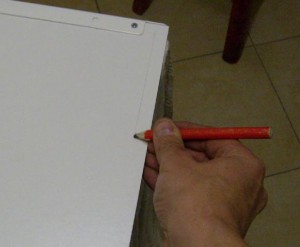
With this unit now bolted to the wall, I could measure the exact size of the countertops I need. Aluta Continua.
What I did yesterday afternoon

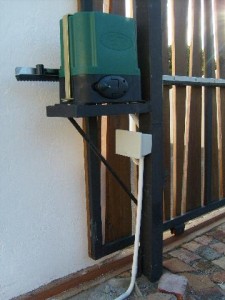
I always get my best ideas in the shower. In this case, the best way to get power to the gate motor.
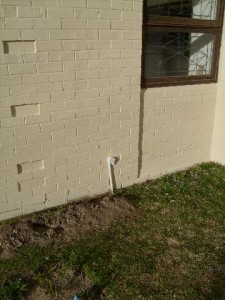
There’s a plug point in the living room, I drilled a hole through the wall, fitted this box on the outside, and ran a pipe …

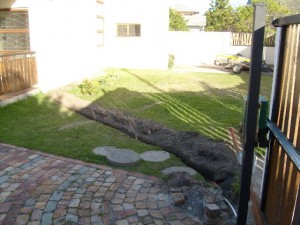
… through this Malawian-dug trenchette …

… to this weatherproof box, where I will eventually fit a plugpoint for vacuuming the car …

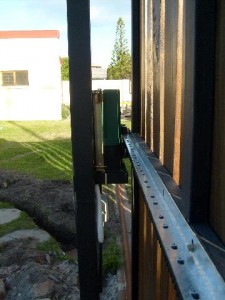
… and via a flexible conduit you almost can’t see in the above pic, to the gate motor.

A dip in the jacuzzi with a good looking girl and a glass of red wine rounded off the day.

At last, the 200mm unit

Recap : I bought the whole kitchen in flat format, audited it, found the two wall units were supplied twice, the two units under the window were too small, and four units were not supplied at all. I then managed to get them to fix the two units, and supply three of the four outstanding units.

Well, on Friday I finally got the last unit, the 200mm unit between the corner unit and the large (600mm wide) drawers.

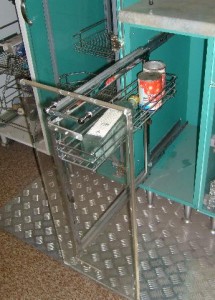
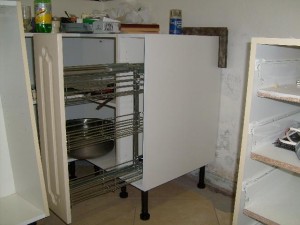
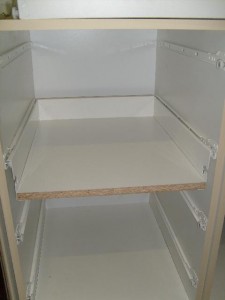
This rack system comes from A&D Distributors (this is their display unit), and is made for a 200mm wide space. (I didn’t know this when I specified the 200mm unit. Serendipity).

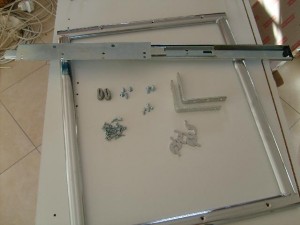
This is what you get for R390. Including three baskets, not shown.

I decided to assemble this unit in place, because I realised I won’t be able to screw the sliding assembly into the 200mm wide (168mm on the inside) space, at least not easily.

Used two spare legs to level & square the unit while the glue dried.

With hindsight and perfect measurement, this unit should have been 195mm, not 200. The whole assembly, with a panel on the right hand side, is just proud of the doorway. But then again, the doorway is not yet trimmed. This sort of makes trim necessary, though.

On Saturday we went and bought 22 square meters of VNE20A1 (not named) grey tiles for the bathroom (from Builders Warehouse). R59.99/square. I also returned the brass fittings I didn’t use (because I got the same stuff cheaper at Muizenberg market) — R264.75 credit, w000t.

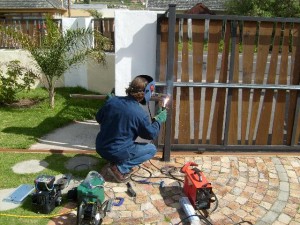
On a totally different topic — Saturday it rained, hard, so friend Randall came out on Sunday and spent most of his day fitting a gate motor, with very little help from me. I now have the Malawians digging a trench for power — the unit runs off a 12V battery, with a small transformer to keep the battery charged. The benefit of this is (1) it works when Eskom doesn’t and (2) you only need lightweight wiring, which saves a bit of money.

So much for their one saving grace

As hardware stores go, the Builders Warehouse in Tokai is… so/so.

They’re large, and have a selection of stuff, but there’s also a lot of stuff they don’t have. And their prices are good, sometimes, but some other stuff is a complete rip off.

Their sales staff range from pretty good… to useless. The paint guys are great. The electrical guys are not bad at all. On the other hand, the bunch hanging out by the tool section have no clue as to what they’re selling, and can’t offer any advice. And the dude on the cut board counter should be drawn, quartered and shot.

<me> “Excuse me, how much is your bullnose postform countertop (points at stuff on shelf one meter from dude) in Etimo?”

<dude> “I can’t tell you that we have to order specially” *wanders away*.

Not “can I get back to you?”. Not “approximately $bignum but I’d have to confirm”. Oh no.

But despite this, I spent probably R50k with these guys the past few months.

Because they were open until 19:00. Convenient. But this changed — they now close at 18:00, just like all the other hardware stores. So they’ll be seeing a lot less of me.

Oh, and they’re also a gunfree zone. In my friend Richard Boothroyd’s words, “not when I’m there, they’re not”.

Geek Alert : Electrickery

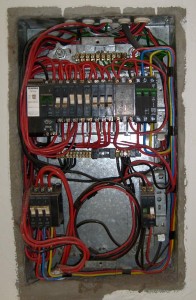
This is the distribution board (DB). The pre-payment meter (bottom left, outside the picture) was wired in later, see the taped wires on the left hand side? The extended wires go down to the meter and then back up to the mains switch at the bottom left.

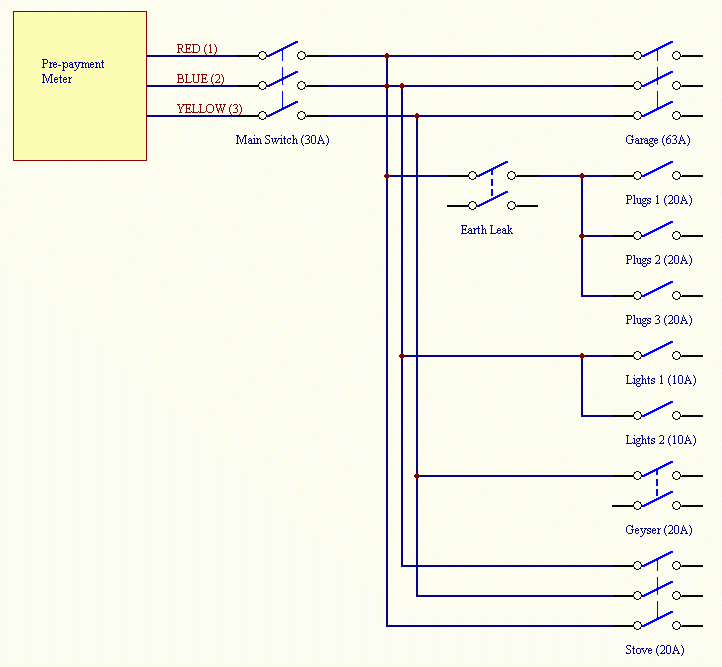
The red/blue/yellow wires go to the switch at the upper right hand side, and from there to the cable that feeds the garage. That’s the whole point of 3 phase — power to the workshop!

Nicely balanced phases, one phase feeding plugs, one phase feeding lights, and the third phase feeding the geyser.

Only one problem — I much prefer my lights and stove to also be on the earth leak circuit (I got the worst shock of my life unscrewing an Edison screw lightbulb from a metal mounting. The socket was fed via ripcord / flex and obviously the outside of the screw was live. That house still doesn’t have earth leak, but then, I don’t live there any more).

Oh yes, the reason I’m tracing all of this is that I need a circuit for the oven, and two circuits for the jacuzzi (the jacuzzi is wired for a single 40A feed, but I have three 30A circuits only). I have the old stove (3 phase) feed, as well as two plug circuits, the one that used to feed the kitchen, and the one that used to feed the lounge. I’m planning to use the old lounge circuit for the kitchen, and the old kitchen circuit for the fridge and the washing machine / tumble dryer (which will have to live out on the back stoep).

Circuit Current
Oven 14.5A
Dishwasher ~5.5A
Stove (Electric domino) 13A
Geyser 18A
Lights (estimate) 5A
Washing Machine 7A
Tumble Dryer 11A
Jacuzzi Heater 18A
Jacuzzi Pump 6.6A

I played with these values a bit and realised that I’d have to change things around quite a bit to balance the load on the different phases. I also grouped things together logically — we’re unlikely to use the oven and dishwasher at the same time, and even less likely to be in the jacuzzi with the pump on at the same time. So also, the jacuzzi heater can be on the same circuit as the washing machine and tumble dryer, those things are not likely to be used all at the same time… I hope. Comments are of course welcome.

Circuit Red Blue Yellow
Plugs 1 (Bedrooms) 5A
Plugs 2 (Kitchen) 5A
Oven 14.5A
Living Room 5A
Dishwasher ~5.5A
Stove (Electric domino) 13A
Geyser (18A)
Lights 1 (estimate) 2.5A
Lights 2 (estimate) 2.5A
Fridge 5A
Washing Machine 7A
Tumble Dryer 11A
Jacuzzi Heater (18A)
Jacuzzi Pump 6,6A
Total 38A
(20A)
27A 45.5A
(27.5A)

(You’ll notice that the total is not the sum of the column — this is because, for example, the fridge, washing machine and tumble dryer is on one 20A circuit, if it draws more than that the subcircuit will trip).

A total over 30A total is obviously bad, since that would trip the mains. On the other hand, we can learn to not run the jacuzzi heater, the washing machine and the tumble dryer at the same time. The geyser can of course come on at any time, which is why they invented a little black box called a load control relay. I bought a 10A unit — if the stove circuit (stove, jacuzzi pump and dishwasher) draws more than 10A, the relay will make sure the geyser doesn’t come on. If I’m only using one of the stove plates, the stove will draw less than 10A and the geyser will have power.

I might end up fitting a load control relay to the jacuzzi heater circuit as well if things turn out to be a problem.

Weekend kitchen progress

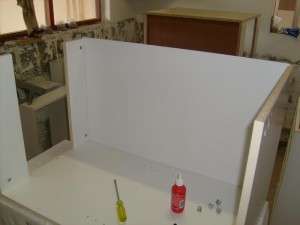
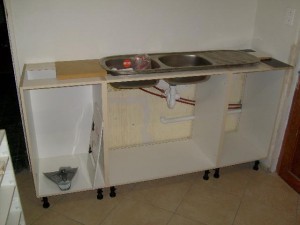
OK, as noted in the previous post, I assembled the unit under the sink.

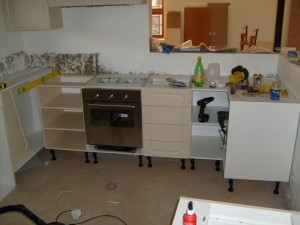
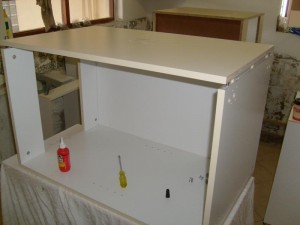
I also turned the units I’d assembled earlier — which go under the stove etc. — on their backs, aligned them and clamped and screwed them together. Because of the corner unit, I could of course only do this for the long side. (OK, I also don’t have the one little 200mm wide unit yet, but that’s besides the point).

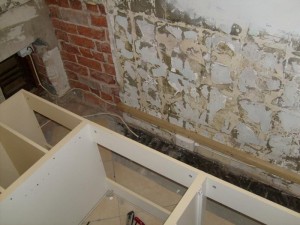
That’s the (15A) socket for the oven. I’m going to run the wires in a pipe down the outside of the kitchen wall, then in via the funny hatch on the left hand side (no idea what its purpose was originally). The wire also continues to the right and through the wall to feed the three plug points in the living room (we removed the pipe feeding those three points when we knocked out the wall between the kitchen and the living room).

With Tanya’s help and much swearing, we got the unit into position (we didn’t get pictures of the bit where I was stuck behind the corner unit and had to climb up and over the wall…)

It’s even level. (OK, it’s resting on the batten you can see in the first pic, and that’s level, so it didn’t have much choice… but still).

With oven and drawers installed. Looking lekker.

Tanya enjoying some gardening when not required to push, pull and swear at kitchen units.

Assembling kitchen units

I realised that I never posted the details on how the cabinets go together, so this weekend I took some pictures (19 20 thousand words’ worth).

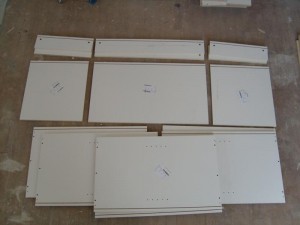
These are the three units which go under the sink (see the floor plan).

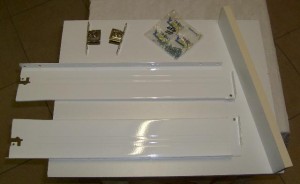
From the top : the two runners which form the top, the bottom, and two sides per unit.

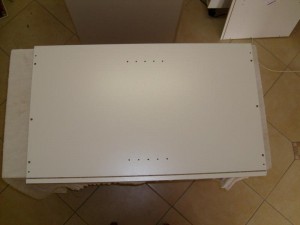
This is the one side. They drilled the centre hole on the left hand side off-center, so I chose that side to be the top (no other choice, really).

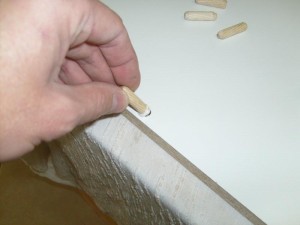
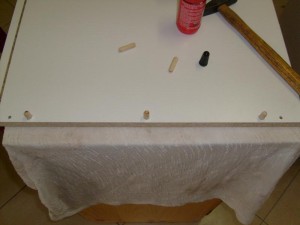
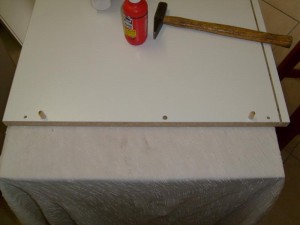
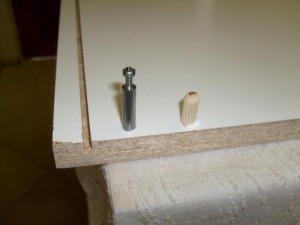
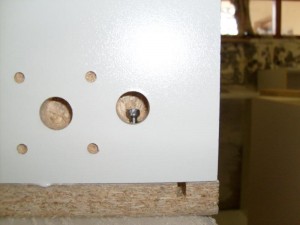
Insert the dowels, three for the bottom end

and two for the top.

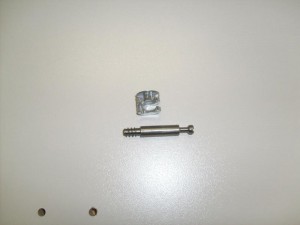
This is the pin and cam that is used to pull the unit together.

Glue, install.

Pin poking through, cam installed, and cam tightened.

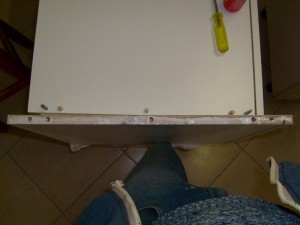
Basically the same thing at the top. I learned the hard way that here it’s important to align things, because the single dowel allows for rotation, and then the top edges come out uneven. So hold the corner square while tightening the cam.

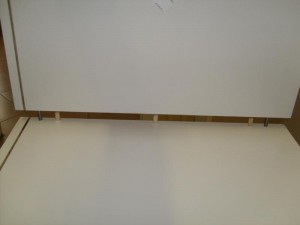
Don’t forget the backing board.

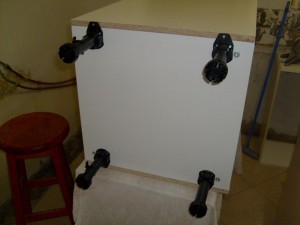
Fit the other side, and the feet.

I repeated this exercise three times, laid the three units on their backs on the floor, clamped and aligned the front edges, and screwed the whole thing together, just like Tom Silva shows on this This Old House video.

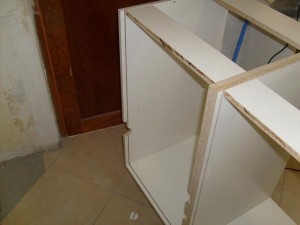
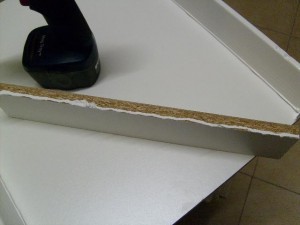
Because of the water and waste pipes, I didn’t fit the backs to the two right-hand units. Which means I had to cut the back bit off the top strips so that I can slide the back in later.

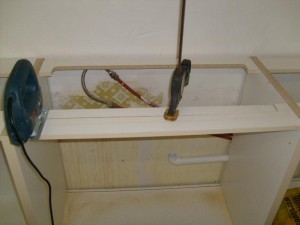
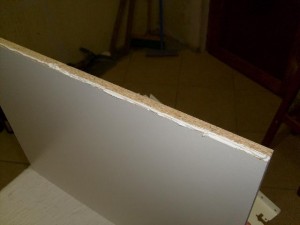
Cutting the hole for the sink. Tip : clamp the bit you’re cutting out so that it doesn’t break and splinter the last bit.

Tanya will have to wear heels to wash dishes — the counter height is 1m.

Assembling drawers

The kit from Lansdowne Boards comes with no instructions. I had to figure things out from scratch (OK, so this is not too hard to do. By the fourth drawer I was on a roll. These pics might help you get the drawers right starting with #1).

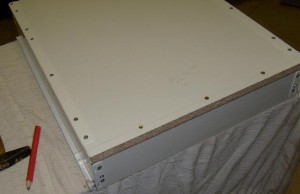
Drawer bottom and back (16mm chipboard), “Metabox” sides, door attachment hardware, and chipboard screws.

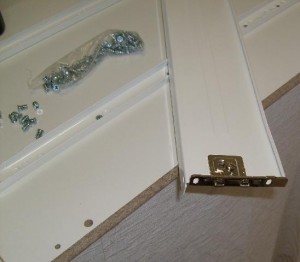
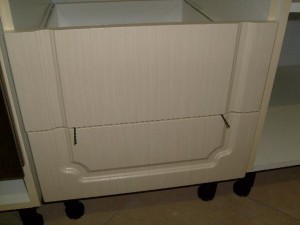
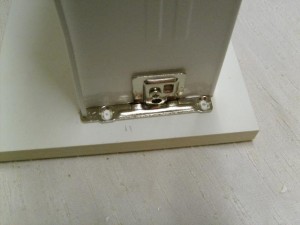
This is how the door is attached to the drawer sides. The two oval screw holes allow for side-to-side adjustment, and the hardware itself allows for a bit of up and down movement using a cam system.

Pick the best side of the drawer bottom and apply a bead of sealant to the long sides (in this pic, the bottom left hand side will form the visible bottom of the drawer).

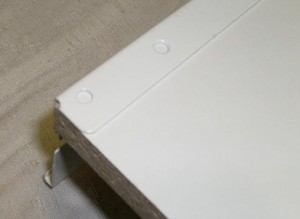
Square up the front of the drawer side with the drawer bottom (In my case this left a bit of an overhang at the rear) and screw it down.

The quick way of lining up screws if you’re not too fussed with the exact dimensions, but you want things lined up.

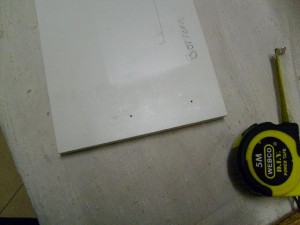
Three pilot holes (my drawer bottom is 39cm, I drilled holes at 8 1/2. 19 1/2 and 30 1/2 cm.

Choose the best side of the back strip and apply sealant to the front three edges.

And screw things down (screws are cheap, so I fit them all).

Drawer installed.

I estimated that I needed a 3mm gap between drawers, so I used two 3mm twist drills (“drill bits”, although some people hate the term, like others hate the term “bullet head”) for spacing.

In the end, it turned out that all four drawers were fine with a 26mm spacing. I also lined the sides up, marked the centre of the holes.

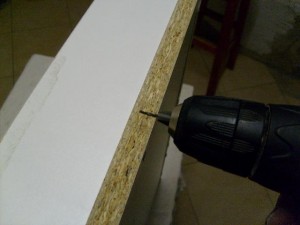
I don’t really want to drill right through the drawer door, so I adjusted the depth carefully.

Pilot and screw down.

Before adjustment.

After adjustment. I would probably have to re-adjust once the drawer unit is squared up and fixed to the wall.

Glass bricks

So, Frank built a 900mm high wall closing off about a third of the back stoep, the idea is to build a glass block wall all the way to the top. This will shelter the jacuzzi-corner from the Fish Hoek wind, which blows up the valley from the sea and gives me a permanent runny nose.

But Frank doesn’t know how to build with glass blocks.

Neither do I.

Homebase makes it look complex, DIY Divas makes it look easy. Fine Homebuilding says it’s somewhere in between. With those three references, I’m sure we’ll get it right. I’ll ask some questions at the hardware store tomorrow morning.

Edit : Frank ended up building the glass wall just like a normal brick wall, using 5mm tile spacers, and normal cement. He strung wire between the wall and the steel pole (self tappers on the steel side, nail-in anchors into the wall) every two courses, and it came out well. Well, sorta well, see later post on same subject.